 |
| View into the centerboard well showing the 5200 bead at the top making a good seal. |

Wednesday, August 31, 2016
No more leaking keel bolts!
August 25, 2016 I wasn't able to be present for the launch, but the in the water test was successful...no leak in the bilge. The bad news is that they found that the air conditioner thru-hull valve has a very slow leak. Not a big problem as it is accessible and they only planned on leaving the boat in the water long enough to test all the work that was done that required the boat being in the water to test. Everything else checked out. They reported what I already knew...that some of the thru-hull valves squirt a bit when the valve is opened or closed. At this point, it doesn't make sense to replace any of them...they aren't very accessible so that is a good thing.
We're getting close to getting Owl Moon back in the water now!

Wednesday, August 24, 2016
The keel has been reattached
August 25, 2016 The boatyard cleaned and prepped the hull and keel Monday and I drove down early Tuesday morning to be there for the reattachment process.


The holes at the bottom of the keel where counter sunk so that the sealant could form a good seal there. The base of each keel bolt got a good extra ring of sealant to fill the counter sink space. The keel bolts were also smeared up about 2 inches with 5200...I didn't get a photo of that final step.
Now it was time to go inside and put the new washers and nuts on the keel bolts. James and Ken put 5200 on the base of the keel bolts above the backing plates to help lock the nuts in place. Then the nuts were tightened a little at a time, working from the center out. The 1/2" bolts went to 45 ft. lbs., the 3/4" bolts went to 131 ft. lbs. and the 1" bolts went to 300 ft. lbs.
Here are all 20 nuts in place.

 18 of the 20 nuts in place
Two are out of sight of the camera...the forward most one under the mast step and the aft most one under a floor section.


Cleaned hull and keel surfaces ready for bonding.
 |
| New centerboard pennant attached |
 |
| Once the keel bolts were started in the holes of the keel stub, James coated both surfaces with 3M 5200 marine sealant. |
 |
| All surfaces coated and ready for bonding |
 |
| A lot of sealant squished out when the hull was lowered onto the keel. That was expected...better too much sealant than not enough. |
 |
| It took a big torque wrench to get the 300 ft lbs. on the two 1" bolts. |
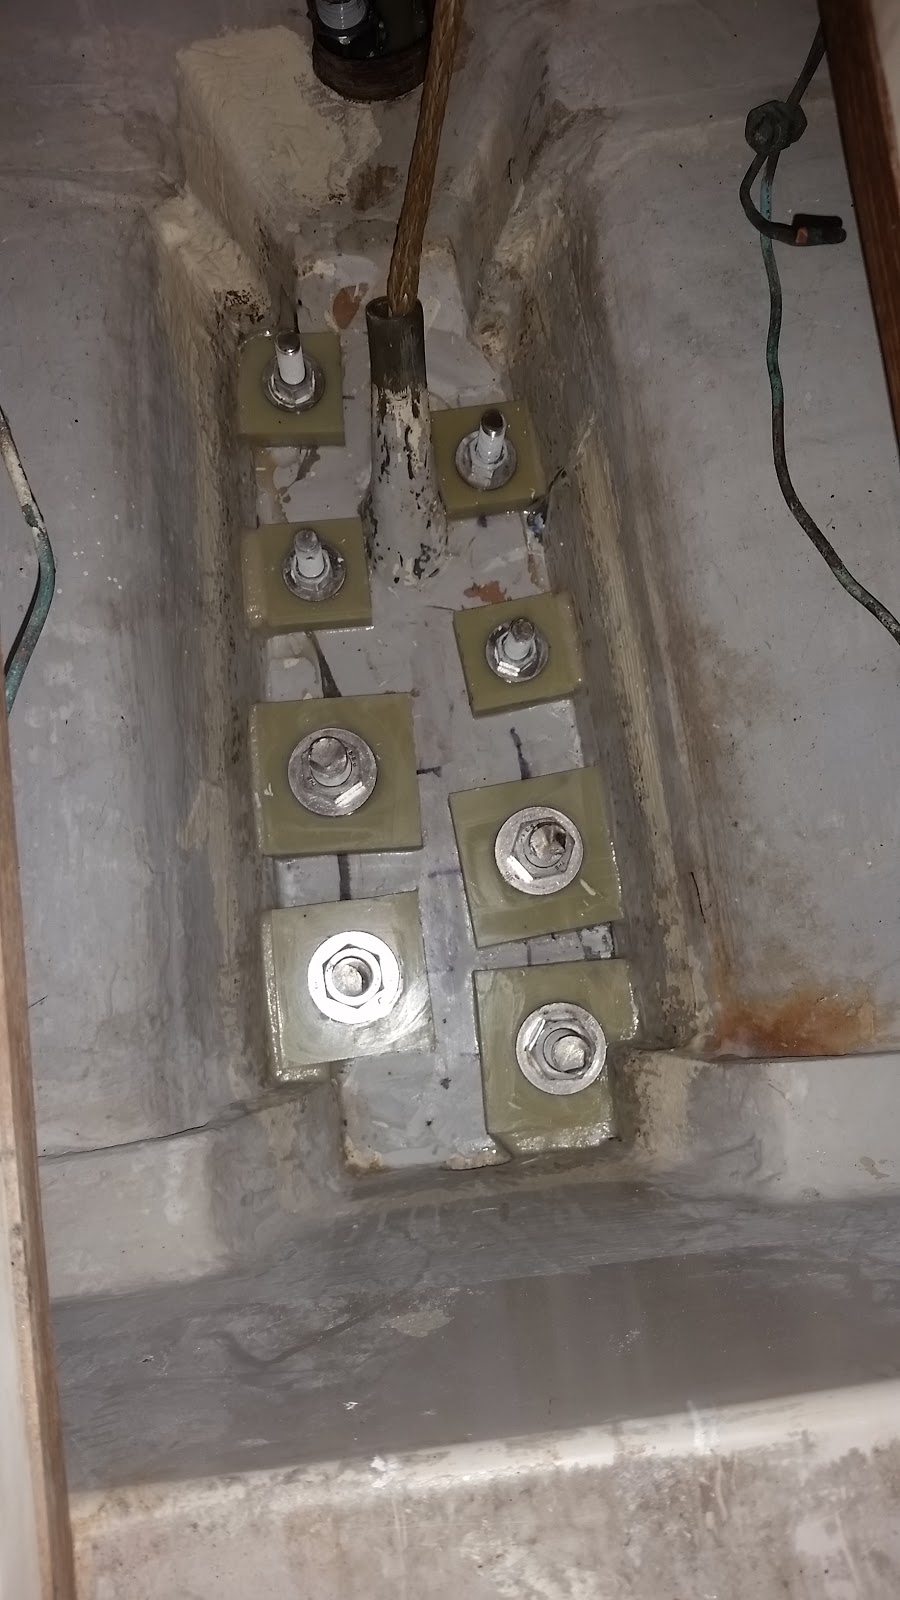


Two are out of sight of the camera...the forward most one under the mast step and the aft most one under a floor section.
 |
| James did a good job cleaning the keel/hull joint. |
Sunday, August 21, 2016
Hull is lowered back onto the keel
 |
| Taped keel |
 |
| Taped keel stub |
 |
| Moving Owl Moon into position over the keel. |
 |
| Holes in the keel stub lined up with the keel bolts...took a bit of fine maneuvering with the travel lift. |
 |
| Backing plates all lined up ready for installation. Not the number key for each one. |
 |
| Setting the backing plates with epoxy...the aft set (bottom of photo) have been completed. |
Saturday, August 13, 2016
Checking In on Owl Moon
August 9, 2016 After returning from Maine following an enjoyable time on the Annual Corinthians Cruise where we missed having Owl Moon, I drove down to Regent Point to check in on Owl Moon. We have received the go ahead from Jim Taylor that reattaching the keel can be done and the yard has been taking some steps in preparation for that.


The latter part of this week they are cutting and fitting backing plates out of G10 (material made from fiberglass and epoxy) for each keel bolt nut.

 5" duct has been run off the aft 16,000 BTU AC unit into a cut out above the nav station. This will allow the unit to push more air and run more efficiently.


The yard created a stand in for the keel stub, matching the holes. This created a flat surface for using to create a flatter surface on the top of the keel by using epoxy between the board and the keel.


Difficult to see in these photos, but the "board on keel" process left some rough spots that need sanding.
The latter part of this week they are cutting and fitting backing plates out of G10 (material made from fiberglass and epoxy) for each keel bolt nut.
 |
| The plastic thru hull fitting for the forward AC unit outflow that St. Augustine Marine installed earlier this year when they raised the location above the waterline has been replaced with a stainless steel fitting that does not have an elbow. |
 |
| Aft thru hull for AC outflow has been raised above the waterline. |
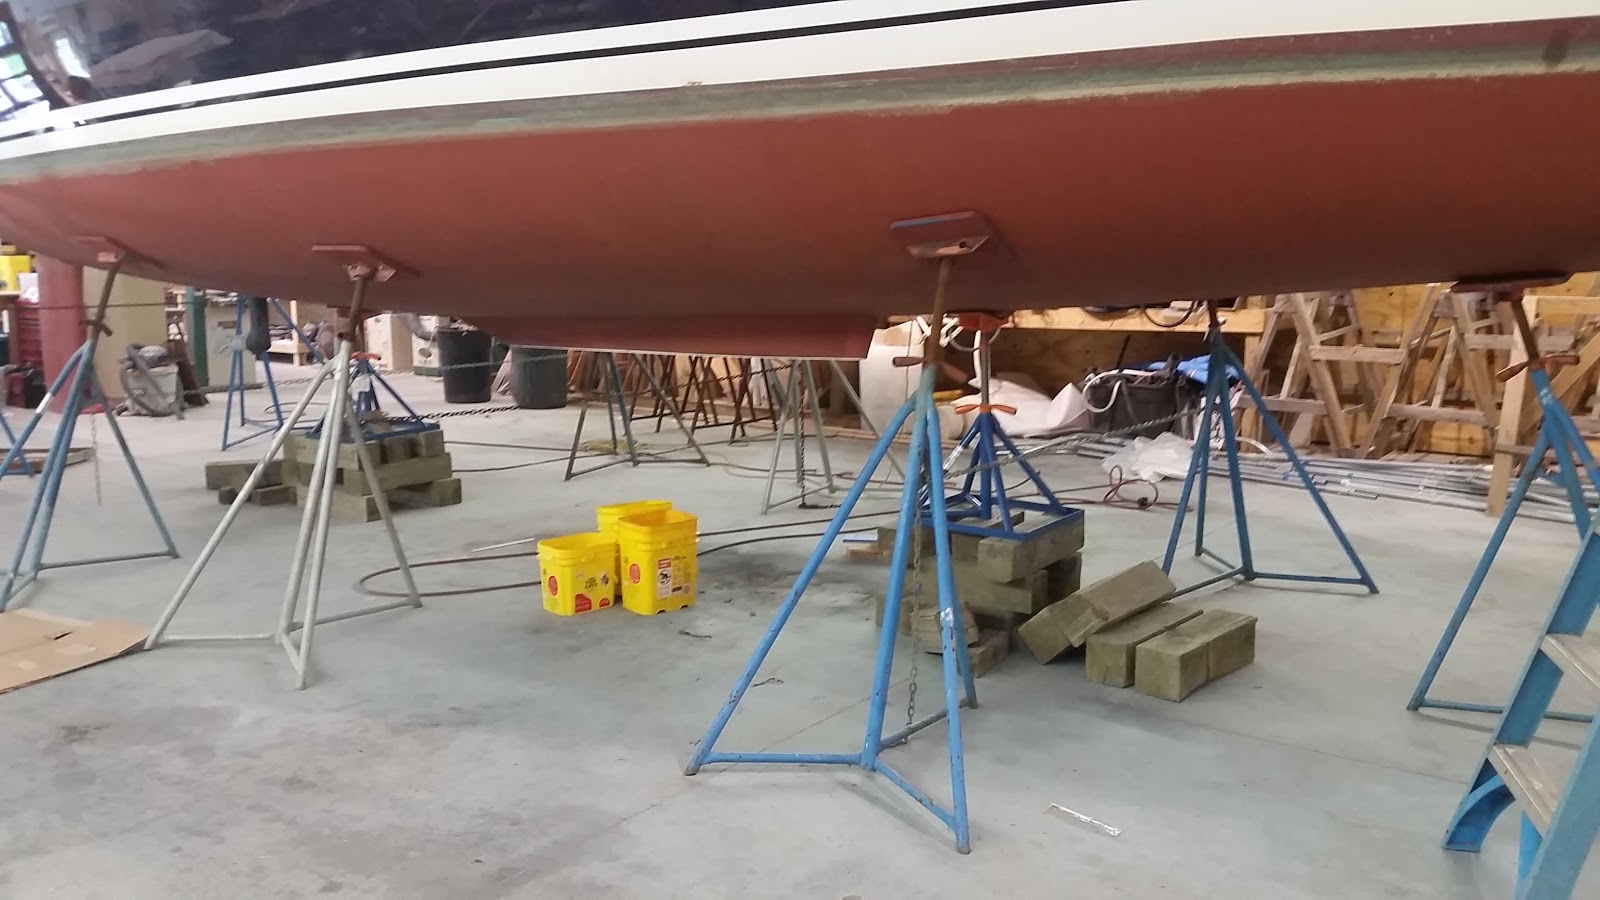 |
| Owl Moon on blocks in the shed without the keel |
 |


 |
| Cutout for grill above nav station. This will deliver cool air to the main salon. |
 |
| On the next visit, the new grill had been installed |
 |
| A pair of rope clutches have been installed for the jib furling lines to replace the jam cleats that were difficult to use. These will be easier to use and take some load off the stantion base where the jam cleats had been. |


Communications cable for the wind instrument has been protected and secured appropriately at the top of the mast, wiring harness reinstalled with the new VHF cable and the opening at the top of the mast closed off with a piece of fiberglass...no more birds nesting there!
 |
| New Aqua Signal LED Tricolor installed at the top of the mast. |
Sunday, July 24, 2016
Knocking things off the List
We stopped by the boatyard a couple of times last week while down in Diggs, Va visiting John's sister. Things are moving along on the inside of the boat while it is inside the shed and out of the weather. A new issue came up during the work. It turns out that the CruiseAir unit in the back of the boat that services only the aft berth is the bigger of the two units. Paul has an idea how to run a supply duct to the main salon at the base of the nav station. That will help the unit run more efficiently as it needs to be pushing a higher volume of air and it will help cool the galley area. Paul is also going to work out channeling more of the air from the return duct to the unit so that it does not pull it from the aft lazarette. The forward unit return air flow is around the drawers under the berth...not really a direct and sufficient return. Paul suggested converting one of the drawers to a return duct and we reluctantly agreed that seemed to be something we should do (don't like giving up the storage).

 The first day we stopped by, Paul had the spreaders ready for painting and the next day we saw the completed job.


The top of the keel and keel bolts have also been cleaned...I don't have photos of that.


 |
| The boom repair was also painted. |
 |
| Here is the piece that was removed from the end of the boom. |


The bilge has been cleaned. You can see where the washers worked their way down into the bilge material.


This is the cleaned off surface of the keel stub on the hull.
Friday, July 15, 2016
Boom Repair
Paul sent me some photos of the repair at the gooseneck end of the boom.In previous post, I had a photo showing how it had cracked along the gooseneck plate where it attaches to the boom. The bottom section of the boom is carbon fiber and is solid, only the upper section needed repair.


Saturday, July 9, 2016
Good News on the Keel Bolts
I got a drawing of the keel and keel bolt layout from Tartan which Paul forwarded to Jim Taylor. He then got the data he needed to run through an American Bureau of Shipping (ABS) keel bolt routine that is an industry standard which Jim has been using for decades. The result of this calculation gave a minimum base bolt diameter of exactly 0.50”...the size of the smallest bolts that are used on Owl Moon. The bottom line from Jim is that that "the bolt diameters and locations do appear to be adequate to take the expected keel loads" (of course, that should have been the findings as the Tartan 4300 is CE approved for category “A” unlimited offshore).
Jim recommended the following keel installation and attachment steps:
- Carefully checking the condition of each keel bolt for cracks, pitting, etc.
- Cleaning and leveling both the top of the lead and the bottom of the keel sump.
- Developing a good mate between these two surfaces by ‘buttering’ both surfaces with wet epoxy, and dropping the hull down onto the keel with a release agent between the two, and allowing the epoxy to cure.
- The hull would then be lifted off the keel again, the two surfaces ‘buttered’ this time with a thin layer of 5200, and the hull again lowered back in place for long enough to allow the 5200 to cure fully.
- All of the keel bolts should be fitted with sizeable SS (or G-10) backing plates, not just simple washers. The bottom edges of these plates should be radiused (softened) so they don’t cut into the glass. These plates should also be ‘potted’ in epoxy so that there are no voids underneath, and so that the load is spread evenly over the plate.
- The bolts should be properly torqued, according to their diameters.
This is more or less the steps that Paul had previously discussed with us.
Subscribe to:
Posts (Atom)